WORDS BY DAN KOSTRZEWSK | UPDATED FEB 15, 2024
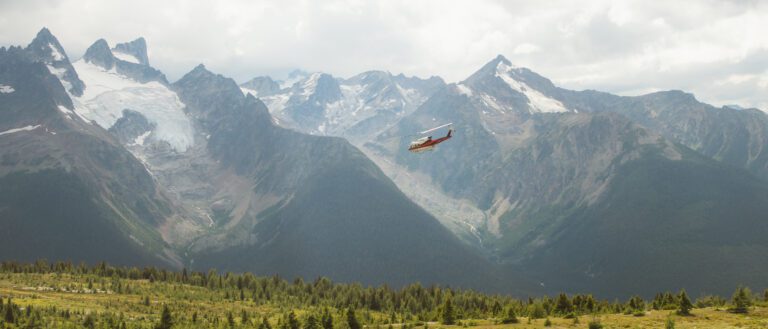
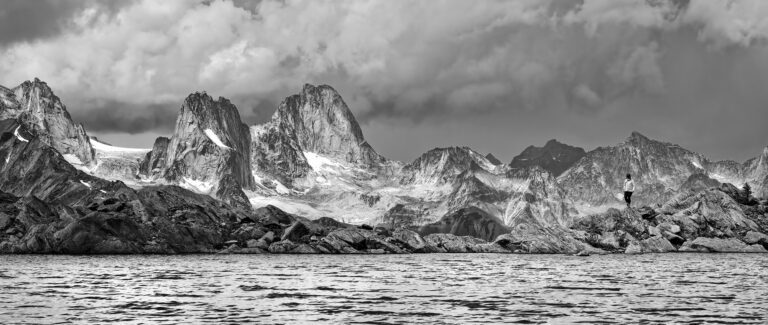
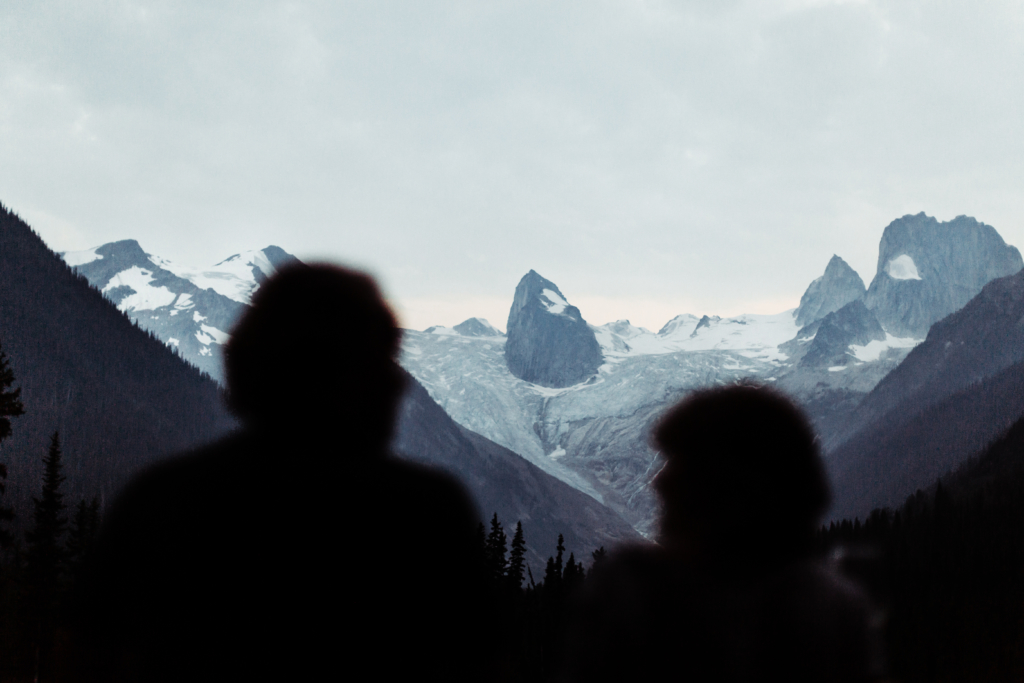
Few locations on earth are such spectacular venues for photography as the CMH summer lodges in the Cariboo, Bugaboo, and Purcell mountain ranges.
From the dramatic peaks and vistas to the smaller moments of perfection, it’s a prime spot for capturing images whether a casual camera enthusiast just starting out or an aspiring semi-pro photographer with a bag full of lenses.
At first, it might seem an overwhelming task to capture the essence of a trip—yet one photographer who understands the enormity of that challenge from professional shooting experience was willing to sit down with us and share his expertise. Read his tips and practice them during your own mountain photography adventure.
Jesse Tamayo first found photography when his dad bought the family a Canon Rebel XTI. After ten years as a graphic designer, Tamayo was looking for a more creative outlet at the same time his side photo gig was taking off. A perspective-shifting car crash—where he luckily walked away without a scratch—convinced him that life was too short.
He jumped in feet-first and full-time, starting with a 12-day via ferrata shoot at CMH and hasn’t looked back since. His incredible images have captured what it feels like to climb Mt Nimbus at the Bobbie Burns, to waterfall gaze deep in the Cariboos and to feel small under the night sky in the Bugaboos.
He provided a few tips for guests intent on capturing these photogenic places and experiences in their own images.

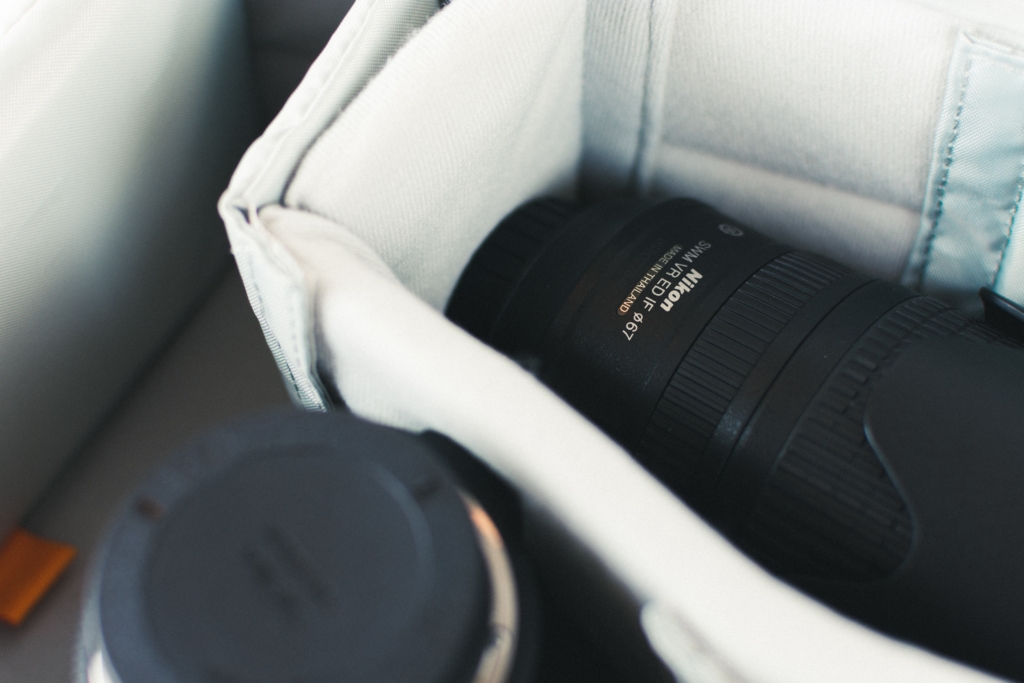
Pack Light
Tamayo first tackled the challenge by bringing every piece of gear and lens in his arsenal, but slowly learned that long days in the mountains put weight at a premium. Eventually, he pared back and honed his kit to only the essentials he needed to shoot in that environment.
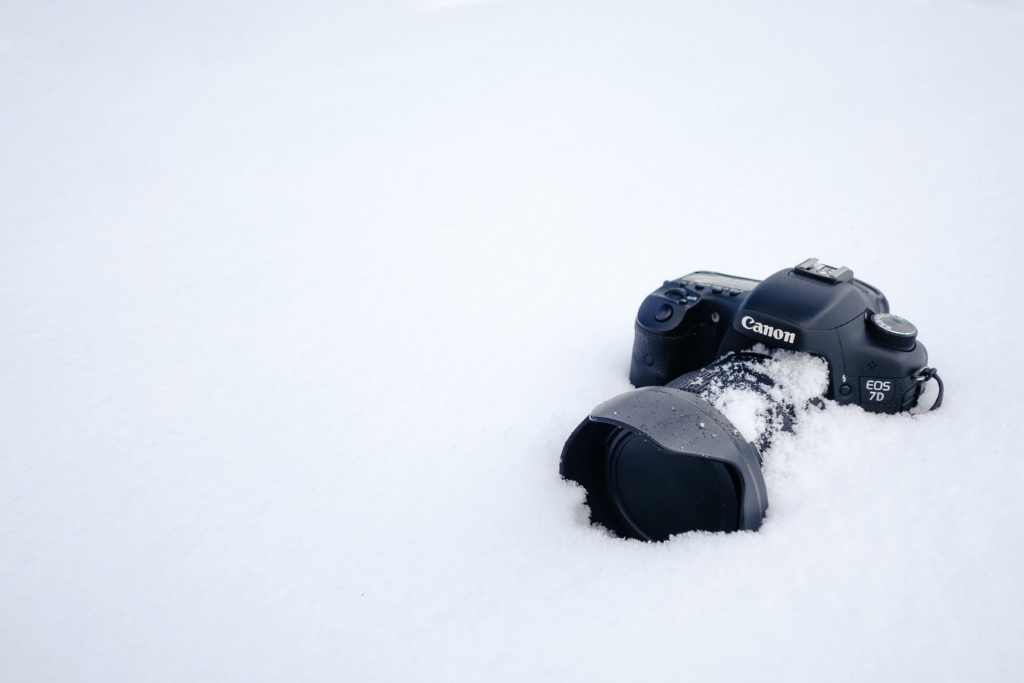
Tamayo is a Canon guy—shooting with a 5D Mark IV DSLR—but, for guests looking to invest, recommends a mirrorless camera like the Nikon Z7 or Canon EOS R due to their significantly reduced weight. With long days in the mountains, he also suggests a camera pack with a sturdy, supportive structure and a camera clip like the one he uses from Peak Design to balance out bag weight with camera weight.
“The tendency is to bring everything but the biggest advice I would give is having something like a 24-70mm kit lens is more than enough. There’s not going to be a lot of times where you can switch a lot of gear,” Tamayo explains. “For a lot of pro photographers, the 24-70mm never leaves their camera for a job such as this.”
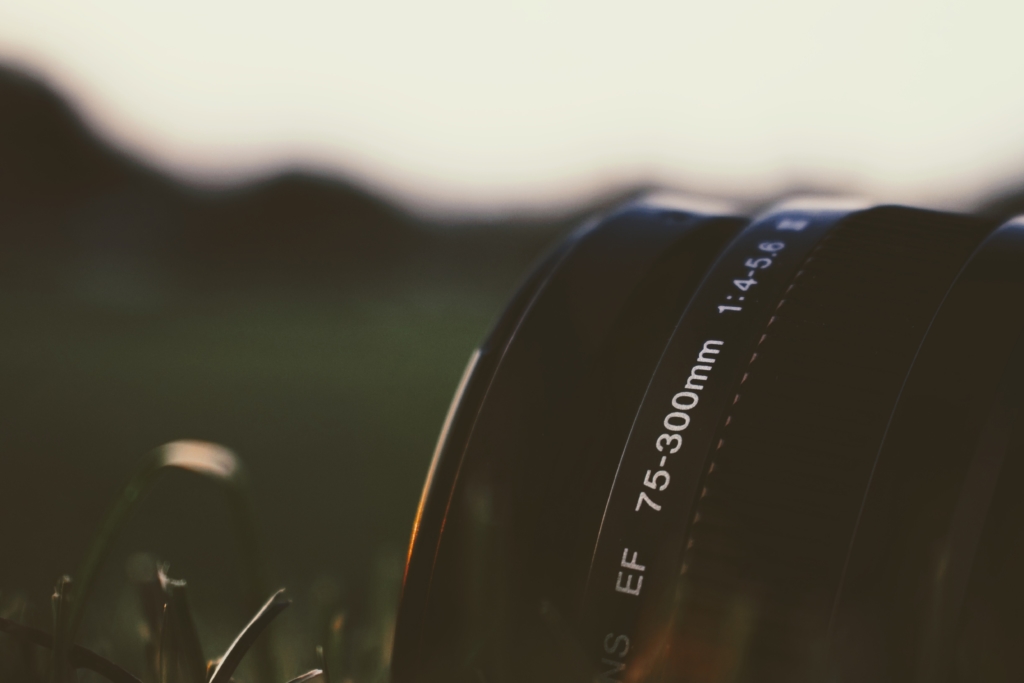
Pro Gear Tips
Shooting in a mountain environment means dealing with more environmental factors such as weather, cold and exposure. While two batteries will usually last a full day of casual shooting for his DLSR, he recommends stocking up on extra batteries if you’re running a mirrorless camera. On the data side, he prefers a dual-slot camera in case a memory card goes bad in the field. He also recommends bringing a few extra items such as a camera sleeve for wet conditions and a large microfiber cloth to wipe the lens.
“Especially when it’s just kind of raining and I still want to get some shots, I need to wipe the lens constantly,” he relays.
Wait for It
“The inclination, because everyone’s in a bit of a rush, is to be trigger-happy,” Tamayo cautions. “One thing photographers eventually learn the more they shoot is that more doesn’t always mean better. We’re always aiming to capture the moment and we’re shooting away with bursts of images.”
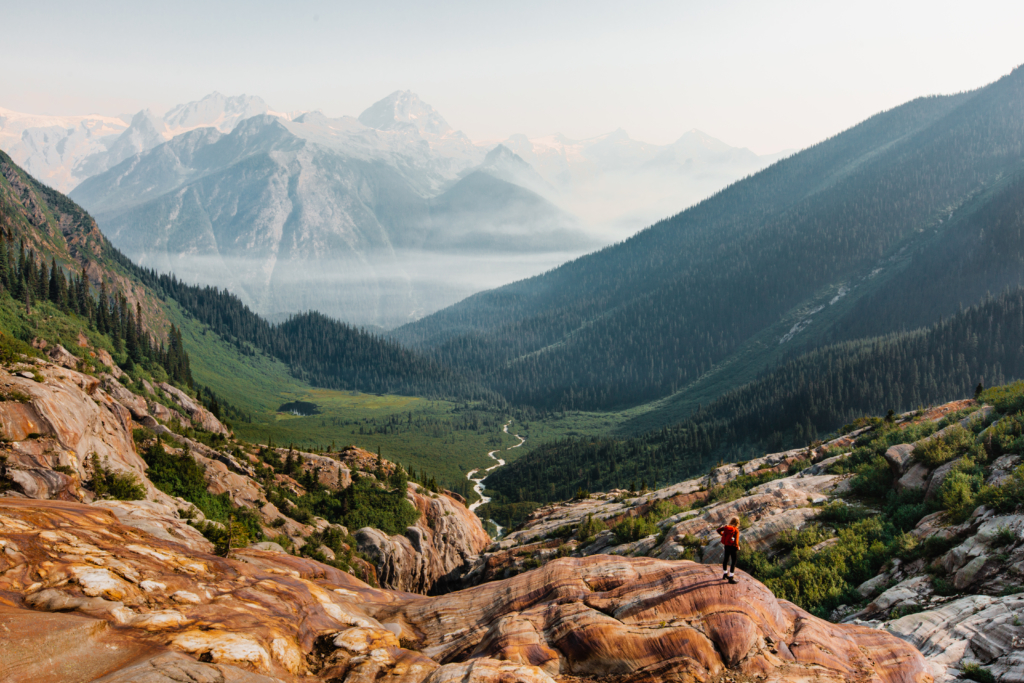
“I advise practicing waiting for the right moments,” he continues. “Everything at CMH is beautiful, everything around you is just amazing, but usually there is the best spot. And the guides know where that is, they know exactly where the best angles are—where the best angle of a certain feature or canyon or peak is.”
“I look to the guides. Instead of capturing every single little thing and being rushed through the moment, I wait to take my time at the spots the guides suggest. They know the grounds inside and out,” Tamayo recommends. “If you tell them before the trip—tell them that you want to shoot—you are really able to customize your experience with the guides. If you tell them that you want to see something or try something out, they do their best to accommodate that for you.”
Shoot Moments
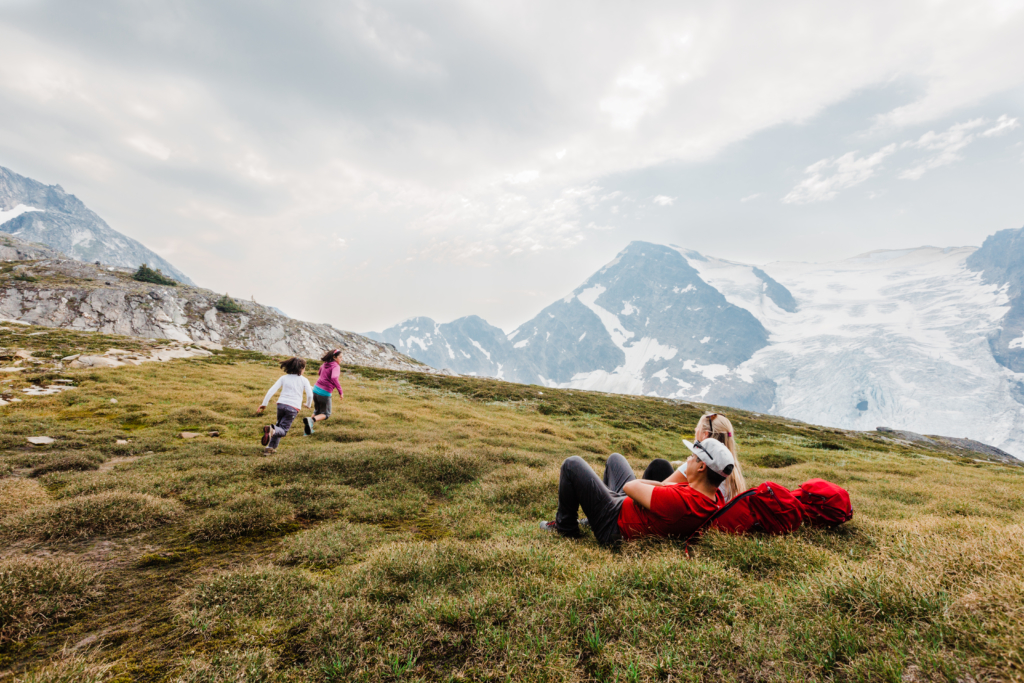
In mindblowing landscapes, the natural tendency is to shoot in the stereotypical big world, small people template. But Tamayo recommends angling away from the hero shot to capture more action and emotion. “Instead of a huge wide-angle with a hero shot in the center, I’m often trying to isolate certain parts of the glacier or a certain peak and the subject matter,” he says.
“Anticipating the people around you is something I say when I go on lifestyle shoots,” Tamayo explains. “You never really know what you’re going to get, so I try to anticipate where a conversation is going or where a moment is going. If I can have my finger right on the trigger when that moment is about to happen I won’t miss the shot.”
“Focus on the right moments and wait for the right moments then spend your time there. It will save you some time on the editing end as well,” he summarizes.
Explore Angles
Another recommendation from Tamayo is changing up your frame of reference by shifting your personal elevation. In his mind, these different angles create uniqueness and a more memorable image.
“One of the things I usually tell beginners is to move away from eye level—whether that means getting to higher ground and shooting down or don’t be afraid to get really low in the ground,” Tamayo says. “The CMH crew always ends up taking photos of me in really weird positions and just sprawled out on the grass or the hill. And I’m like, ‘oh, so that is what I look like’?”
A Note on Safety
With experience shooting in the mountains, Tamayo emphasizes situational awareness of your surroundings—especially when you’re shooting near the exposure of steep slopes or in slick, slippery conditions.
“First off, no shot is worth your life and just be aware when you are backing up for a different angle, put the camera down and really look at where you are going, especially if you do get caught out and things get wet and muddy and slippery,” he emphasizes. “There have been some times in my career where I’ve had some close calls and safety is something you do have to put at the forefront.”
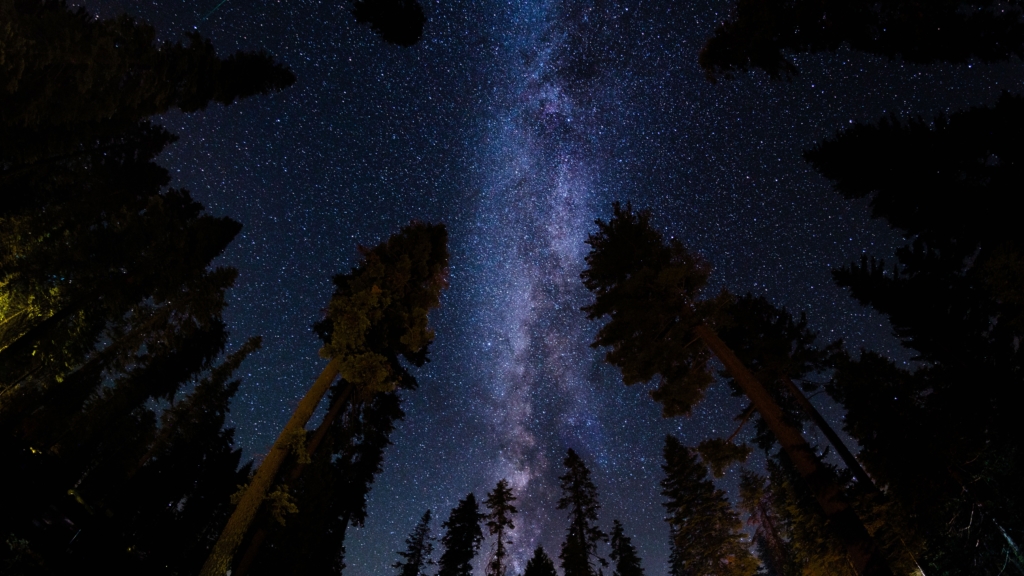
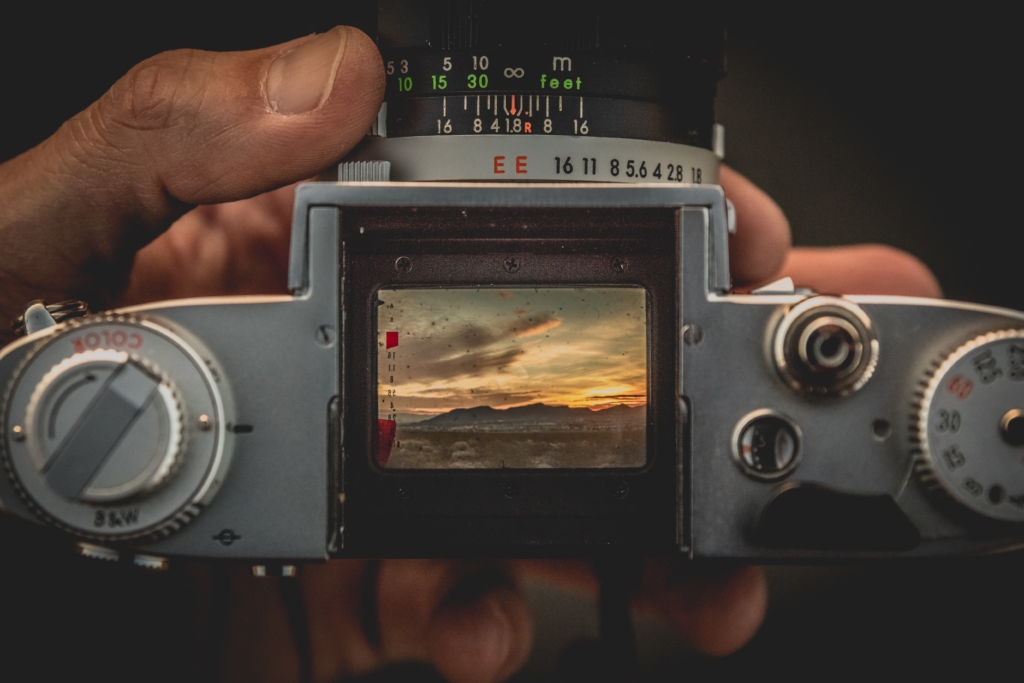
Astrophotography
The dark skies at our lodges are a powerful draw for photographers since few places are so immune to light pollution. But for those interested in capturing night shots or astrophotography, Tamayo recommends bringing a specific lens that adheres to The Rule of 500 for the best exposures that reduce the likelihood of star trails. His personal choice is a Rokinon 14mm f 2.8 or his trusty Canon 16-35mm lens.
“I’d recommend a wide-angle lens at least f 2.8 or larger,” he continues. “The reason why those numbers matter is something called The Rule of 500. You can calculate how long you can keep your shutter open by taking 500 dived by the focal length of that lens.
That’s why the width of that focal length matters, having a bigger aperture is better so you can let more light in.”
Tamayo also recommends saving for a good tripod that is sturdy and stable, rather than buying one under the 200-or-so-buck threshold. “Usually the tripods under $150 bucks have a bit of wobble,” Tamayo says. “Nothing is worse than looking back and seeing that your tripod wiggled and ruined the shot.”
“That’s my biggest thing for people who want to shoot astro is having the right lens and having a good tripod,” he summarizes. “Sometimes people take their regular kit lens and shoot it for a long time and then they don’t see stars and they wonder why. It flips your way of thinking when you are shooting astro.”
Parting Shot
With all the focus on capturing the best images or racing to the heli pick-up, Tamayo has one last piece of advice for active or aspiring photographers at CMH in summer.
“Don’t forget to take a break and soak in the beautiful views, because you can get caught up in the shooting mode,” Tamayo advises. “There were times when we had to move through something pretty quick and I just had to put the camera down and realize—this is awesome, this is beautiful, let me take this in for a second.”
Jesse Tamayo’s Top 3 CMH Locations to Take Photos
We asked Tamayo to pick his top three locations at CMH to shoot in summer and he selected one setting at each of our lodges.
Favourite Valley—Bella Vista in Zilmer Canyon, CMH Cariboos
Up at the Cariboos, in Zilmer Canyon, that valley of waterfalls was crazy. I have one favourite place at each lodge.”
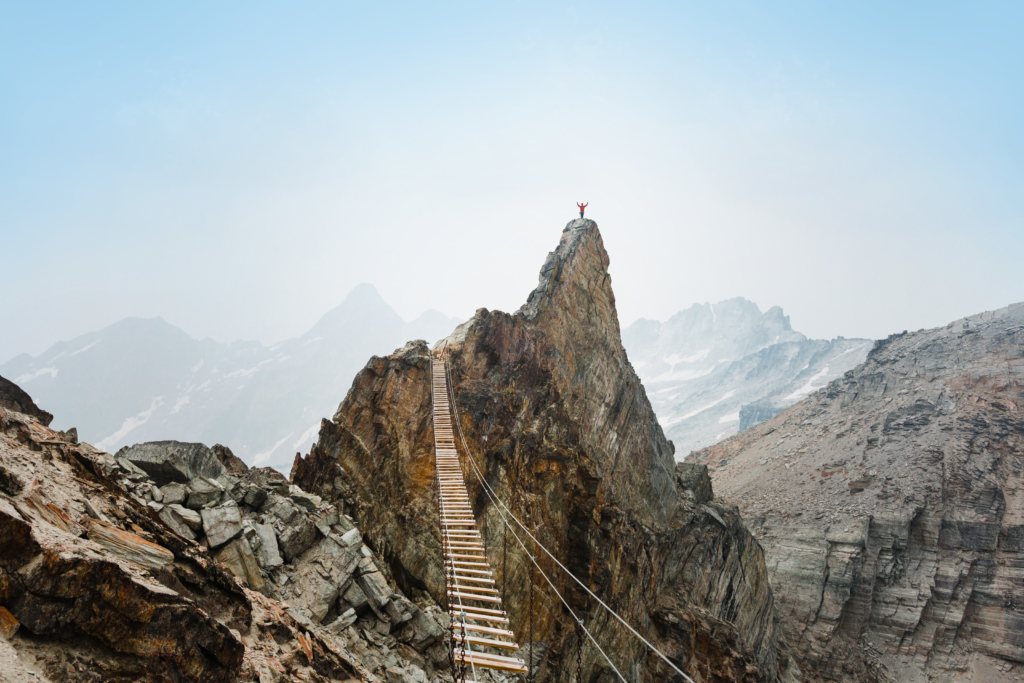
Favourite Via Ferrata—Mt Nimbus, CMH Bobbie Burns
“It’s very iconic, it’s got the cable bridge and a really isolated peak that you have to hike up. That was my favourite via ferrata route hands down.”
Favourite Peak—The Houndstooth, CMH Bugaboos
“In terms of a peak, it’s the Houndstooth in the Bugaboo Spires. It’s the most iconic view, it’s my favourite peak.”
Ask us about our photography trips, which combine heli-hiking and photography workshops. These are led by professional photographers who specialize in mountain landscape photography and adventure photography. Fly to remote locations to capture the beauty of far-removed landscapes.